Showing posts with label sewing basics. Show all posts

Tuesday, June 18, 2013

French Seams


This is a really basic post and i know you could find a tutorial just like this on hundreds of sites, but i was doing this the other day and took pictures of my steps, so i thought i would share. It is a brilliant solution if you have a really sheer/woodgy fabric that needs a clean finish for the seams, don't have a serger and would like all your seams contained, or you have a really fray-y fabric that needs some extra attention.

First: Put the fabric wrong sides together. This is opposite of a normal seam, so be sure you consciously do it the wrong way. 


I like to clip my seam so that i can get a smaller finished seam. I recommend doing this. 


Look at me cutting with my cute Ginghers and cute orange nails... adorable. p.s. it's hard to take a picture when you are cutting with your dominant hand. 


The next step is to turn your project to the "wrong" sides. Pin the fabric over again to make another seam. This step will contain all of the raw edges and will leave you with a clean, contained seam.


Stitching... see how this works? It's brilliant. 


Niiiice...


Make sure to match your patterns!! It bothers me that these ended up slightly off. But it was on the bias, so give me a break...


This was pre-pressing (the MOST important step in my opinion.), but you get the idea.

And now you know how to do something that sounds fancy, and looks fancier than a plain-jane seam... but is in reality very simple to execute. The hardest part is making sure that you do it wrong sides together first... i have accidentally done it right sides together so many times... and had a little quality time with my seam ripper... so check before you stitch!! 


Monday, June 10, 2013

Threads


Threads is a magazine that also has a website... and it is amazing. you can learn everything from the basics of sewing to really advances and amazing new techniques. check it out! http://www.threadsmagazine.com/  
I'm not being paid to do this spotlight, i just really believe that they are a valuable resource for anyone who loves sewing, or wants to learn more about sewing.


Tuesday, June 4, 2013

Magic Hem!

I have a mentor, Louella, who is amazing. She has taught me all kinds of things. Things that have made  me a much better seamstress. One of those things that just makes me feel like i really know what I'm doing, and significantly lowered my stress-level when working with fabrics like chiffon, is the Magic Hem (aptly named). I search the Internet for sewing tips and stuff... because I'm like that, and i found a variation of the magic hem that i think actually improves it, so i will show you (shhh don't tell Louella i said that!) but really though. In building a dressing gown for Drowsy Chaperone i took pictures of the process. (p.s. this dressing gown is making me throw internal fits at the designer). here is the process. now you can hem chiffon like a pro!


First step: set your machine to like a 1.5 or 2 stitch length (tiny tiny!) and stitch along the finished edge line. I leave 1/4 inch seam allowance so that when i stitch this part i can just use the edge of the presser foot for the SA (seam allowance). 


See! Super tiny. This would be the worst to un-pick!


Second Step: fold along the stitching line so that the edge is what you just stitched, and the SA is folded to the back side of your fabric. 


Third Step: set your machine to a small zig-zag stitch. mine was like... a 2 and a 2 (length and width), but you can test out to see if you want different. You want it small and close together, but not too small. 
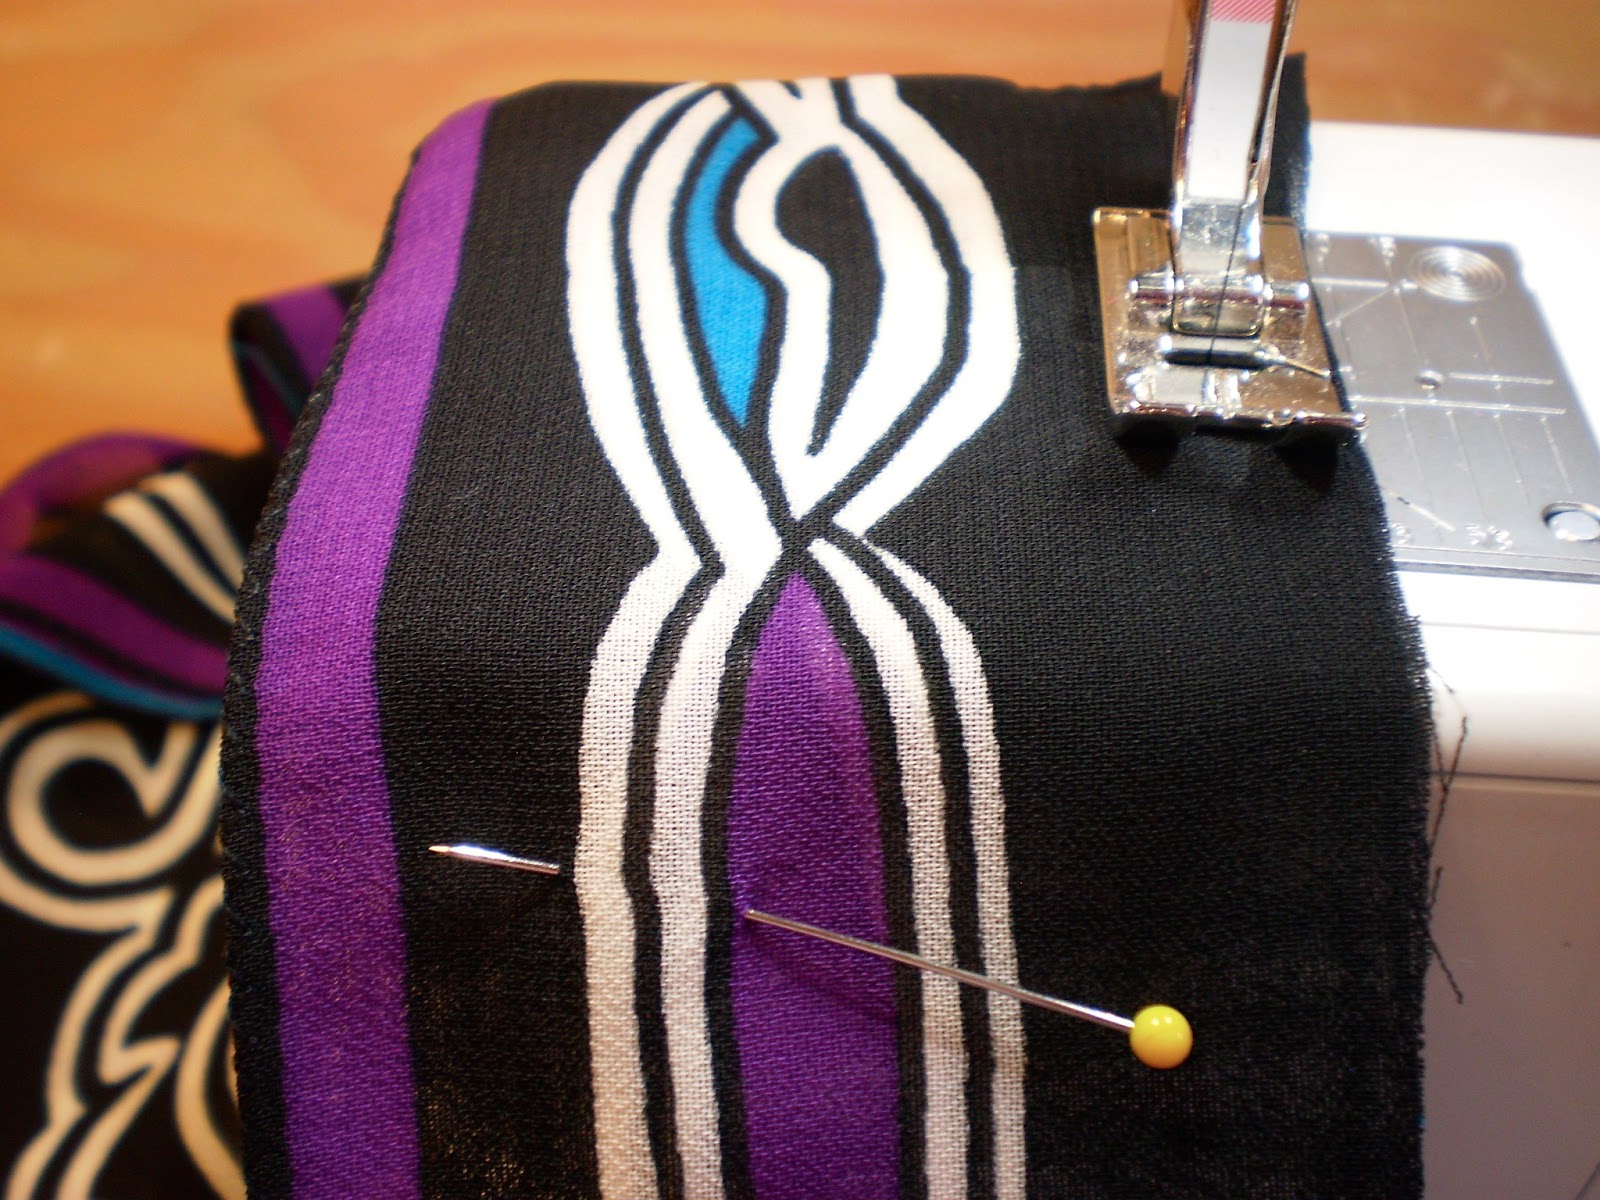
Now stitch along the folded edge! I keep the folded edge right in line with the center of my presser foot, where the needle would normally be stitching on a straight stitch, but since it's on zig-zag, your needle will be going right on either side. 


This picture better demonstrates what i was talking about. I'm still learning about macro settings on my camera... 


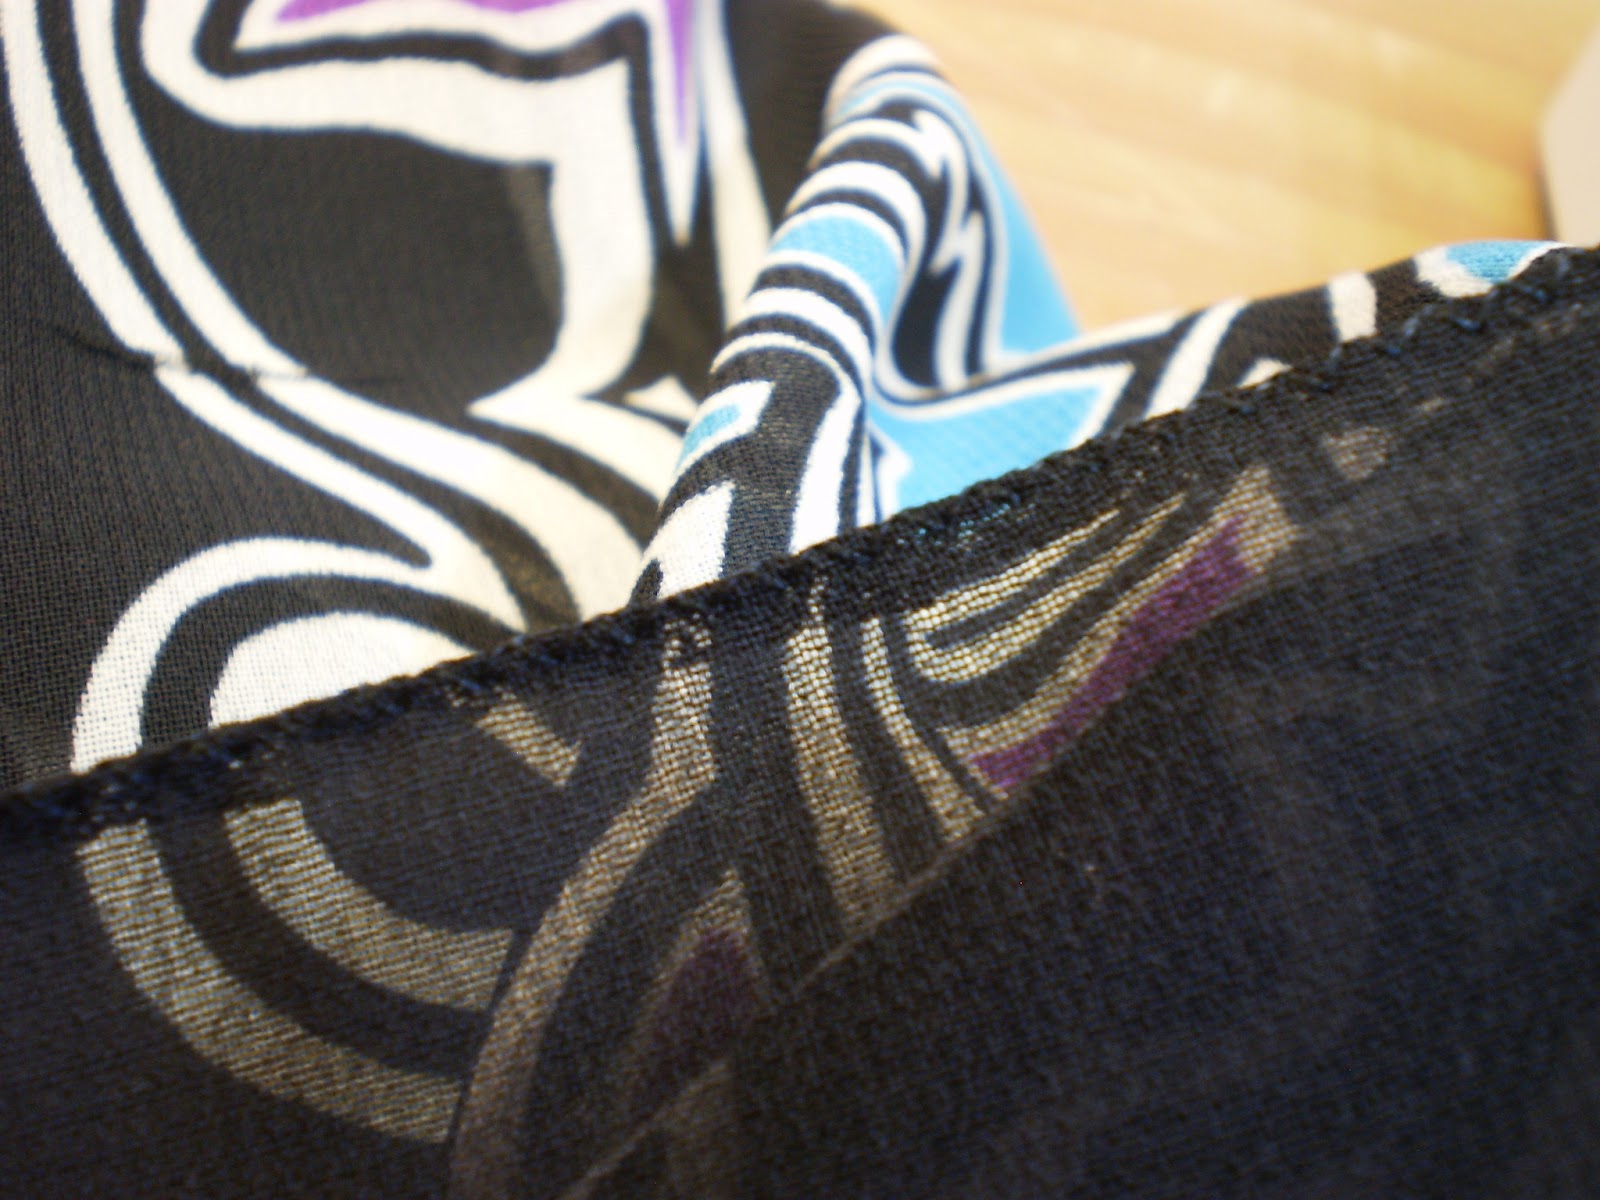
The last step i didn't really get a picture of, because it's my favorite part, and i got a little excited! Turn your fabric to the back side where you have that little flap of fabric that you folded over, and get out your sharpest fabric scissors! Trim off the excess as close to the zig-zag as you can get without cutting through any of the stitches. You can see in the picture above how it looks when you are finished. beautiful!! You might add a touch of Fray-Check of you are having an especially fray-tastic fabric (but i don't)

 Go Magic Hem your little heart out. I know i did. FYI i had to cut and re-hem all that i did in these pictures... gah! Hours wasted. Indecisive designers make me murderous!!  But for reals... everyone will think you are amazing. My boss for the summer thinks i'm brilliant because i do this hem and is having me teach her. 

Tuesday, May 14, 2013

How to: Read a Fashion Pattern

I had a request for a blog post on this topic and at first i thought... would that really be that helpful? I quickly realized YES when i thought back to when i was learning how to sew. When i didn't have my mom or my aunt right there telling and showing me each step, reading a pattern was definitely one of the greatest sources of stress that accompanied sewing. Now i don't usually read instructions anymore, but sometimes i still do! For the most part, i dont need to read them because i've done most things many times, and i know how to put a garment together. The reason they are there is to HELP YOU LEARN. If you are a beginner, reading the instructions is SO important. Even if you aren't a beginner, but you are doing something you haven't ever done before reading the instructions is important. Instructions are put together by the company to show you the proper technical way to construct a garment. If you are learning to sew on your own this is probably one of the best ways for you to not be led astray into the "i'll just make it up as i go.." mentality. That is NOT a good way to learn, and you will end up with some really really bad sewing habits that will be hard to break. Better to start off learning the right way.
When you are buying a fashion pattern, you might think "oh, i'm a size 8 dress.. so i will get the 6,8,10,12.. pattern" and you would probably end up with a dress that was much too small if you made the 8. the thing with pattern sizing is you can't think of them like clothing sizes, because generally, they are not. when i go to a store i might be a size 6 or 8 dress, but generally i am more of a 10 or 12, maybe even a 14 in pattern sizing. patterns have a sizing chart on the back that include simple measurements like bust, waist, and hips. if you have these measurements memorized, or if you are like me and have a measuring tape in your purse at all times, you can find the right pattern size while you are still at the store. Look at the back of these patterns for example:

                          
The pattern on the left is for an apron and the meaurements are a little more general than you would find in something more fitted, but for example, i would want to make the size medium for me (14-16), and if i wanted to make the full apron i would then need 2 1/4 yards of fabric. The pattern on the right is for simple pajama top and pants. This pattern is actually unisex, and the size chart was actually on the flap... that i didn't get a picture of, but it says i would be a size medium. As you follow the medium sizing down vertically you see how much fabric you need for the different widths of fabric. Your fabric should say the widths on the end of the bolt at the store, but if you can't find it, ask someone, or get your measuring tape out of your purse... haha. Sizing is very important for more than just fit, but for choosing and buying fabric as well. The back of the pattern will tell you how much yardage you need for each size, and fabric withs. The top back of the pattern will also give you fabric suggestions. Choosing the right fabric for the project can mean the difference between failure and success. This is something SO important that i tell my kids in the Costume Shop all the time. If you choose a silky, flowy,  or "woodgy" fabric (woodgy is a term than we use to describe fabric that is very difficult to work with. It slides and moves when you try to cut it. It's difficult to keep doubled up, and is nearly impossible to keep something like stripes or plaids straight on. It can make a simple project very advanced.) If you choose a fabric that is difficult to work with, you could be an extremely skilled seamstress and still end up with a less than perfect end-product. I like to recommend things like cottons, flannels, and other non-stretchy or non-woodgy woven fabrics. knits can be really difficult to work with as you either need a good serger, or some products like a ball point needle, double needle, etc. Use the fabric suggestions that are on the back of your pattern to increase your success rate. 
These are just some thoughts i have had as i have worked with friends, students, and co-workers who were learning. Using a fashion pattern should be something that increases your confidence as a seamstress so don't let it scare you! Remember, if you ever have any questions about sewing/fashion e-mail me, or comment! I want you to succeed. I want you to build your sewing confidence! Now head to your local fabric store!

Friday, May 10, 2013

The Basics: Hems (pants)

One of the things that i am asked (and sometimes paid) to do is hem pants. Most often it is boys, helpless and clueless, who have dress pants that either 1. didn't come with a hem (which is sometimes the case if you buy them as part of a suit) or 2. are too long/short. Hemming is absolutely, without a doubt, the easiest thing i am asked to do. I charge between $10-$20 to hem pants (depending on if i do cuffs, if i like you, if i'm already busy and stressed..) and that is the easiest money i could make. Any place that does hemming would charge you more than that so... by doing this tutorial i would like to empower people (but hopefully not lose some of my income). ok, so... let me start by saying, there are multiple ways to hem a basic pair of pants. Depending on a number of factors, i can help you decide which way is best for you. Ask yourself the following questions: 1. Do i own/have access to a serger? 2. Do i want these pants to have/ or do they currently have a cuff? 3. Do i own/have access to a sewing machine? Now, if you answered yes to #2... you might have to hang tight. that's a post for another time. before i ask you about the other questions, i need you to TRY ON THE PANTS, or have the owner of the pants try them on. WITH SHOES. Think about what shoes you would be wearing with them. If they are too short, you should take them hem down (and make sure there is enough to be let down. dress pants usually have quite a large hem to be let down). With dress pants they need to have what we call a "break". when you stand, your pants should not be a solid column of straight fabric. they should look like this:

This image is perfect evidence of that. See the bottom? How there is a "break" in the line down the front of each leg? That is how pants should fit. Now, i know, these pants have a cuff...that doesn't matter in the case of length fit. The pants in the back will not really have a break. They should hit right about at the top of where the sole starts. You dont want them to drag, but if they are too short they will look stupid. So, estimating, probably about a half an inch to an inch off the ground. again, if you get the break right in the front, and hem straight all the way around, they should hit at the right place in the back.
Ok. whew. So, now you have your pants pinned to the right place. Take them off (yes.. yes. dont try to hem pants while wearing them. i've tried. it's a dumb thing to do.) Now back to my original questions. Do you have a serger? If yes, then if you had to cut off some of the length, make sure to leave probably 2 inches to hem up. You dont want a small hem in dress pants, or they will lay funny. If you had to cut some off, make sure you cut equal amounts off each leg (unless the person has incredibly different length legs), and serge the raw edges of the fabric. If you said no to the first question, you will have an extra step. You will need to have hem tape (It is NOT sticky. I dont condone any adhesives in sewing. It's basically just really thin ribbon. The package will say "hem facing tape" or something like that. Make sure it does not say anything about "iron on" or "adhesive" yuck!) and preferably pinking shears (the ones that cut a zig-zag). First use the pinking shears to "pink" the raw edges. this isn't quite as good as a serger, but it dramatically reduces the fraying of the fabric. If you dont have pinking shears, its ok... just skip that step. next you will sew the hem tape to the raw edge of the fabric.


You are just stitching it on, not making a seam. So you are not doing "right sides together" as is traditionally used for everything else in sewing. Next, fold the fabric up to where you had pinned before. I only have about an inch hem here... and it's ok. I guess it just depends on what you feel like leaving to hem up. If you do the hem nice, no one should be able to really tell if it's a one or two inch hem.

Pin it in place. Don't try to be a hero here, i always pin. Things will turn out better the first time if you pin. I've learned this lesson the hard way. Now, we start stitching. I'm doing a very very basic hemming stitch on this. Some people do different stitches, i dont do a fancy stitch for a basic hem. So, do whatever you want, or how you have learned. But this way is easy, i promise.


You are going to want to make sure your thread is not "doubled up". Only have a knot in one end of the thread, not knotted together. To start, take a small "bite" out of the fabric with the needle, then another small "bite" of the hem tape (or of the serged fabric edge) stay right on the edge of the hem tape. Small bite, small bite. Back and forth.


You may need to click on this picture for it to really be visible. I stitched in blue. It's going to be hard to see my stitching because that's how it should be. You don't want your stitches to be huge and visible, or they will show on the outside. The inside doesn't matter as much as the outside though, so make sure that when you are taking bites of the fabric, you are taking tiny tiny ones. The hem tape stitches wont show on the outside. Occasionally peek onto the "right side" of the pants and make sure your stitches are small and uniform. When you get to the end (or circle back around) take a "bite" and circle your needle through the loop your thread makes. That makes a knot. Make a couple more knots in the same spot. You dont want your beautiful new hem to come undone! Now turn it over and admire your work!


See the little blue specks? Maybe this was a poor fabric choice... but you get the idea! Now look at this example where i took way too big of bites. Look at the huge ugly stitches it makes on the outside.


Baxter doesn't like when i sew.


Ok! So i think that's it. To my sewing peeps, let me know if i forgot anything. To my beginner peeps, let me know if i need to clarify anything.