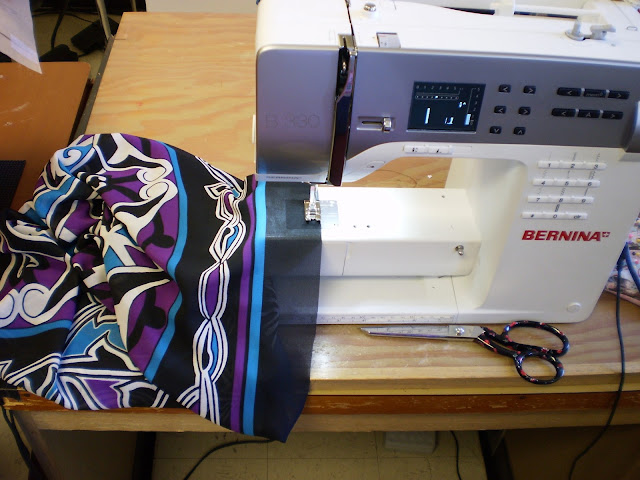
First step: set your machine to like a 1.5 or 2 stitch length (tiny tiny!) and stitch along the finished edge line. I leave 1/4 inch seam allowance so that when i stitch this part i can just use the edge of the presser foot for the SA (seam allowance).
See! Super tiny. This would be the worst to un-pick!
Second Step: fold along the stitching line so that the edge is what you just stitched, and the SA is folded to the back side of your fabric.
Third Step: set your machine to a small zig-zag stitch. mine was like... a 2 and a 2 (length and width), but you can test out to see if you want different. You want it small and close together, but not too small.
Now stitch along the folded edge! I keep the folded edge right in line with the center of my presser foot, where the needle would normally be stitching on a straight stitch, but since it's on zig-zag, your needle will be going right on either side.
This picture better demonstrates what i was talking about. I'm still learning about macro settings on my camera...
The last step i didn't really get a picture of, because it's my favorite part, and i got a little excited! Turn your fabric to the back side where you have that little flap of fabric that you folded over, and get out your sharpest fabric scissors! Trim off the excess as close to the zig-zag as you can get without cutting through any of the stitches. You can see in the picture above how it looks when you are finished. beautiful!! You might add a touch of Fray-Check of you are having an especially fray-tastic fabric (but i don't)


No comments:
Post a Comment